Caramelizing onions is the art of cooking them low and slow until their natural sugars break down, transforming them from sharp and pungent into a soft, deeply golden, and jam-like treat. While it takes patience—requiring nearly an hour on the stovetop,this simple three-ingredient process can completely elevate your burgers, sandwiches, and grain bowls.
Ingredients & Nutrition
- Prep Time: 10 minutes
- Cook Time: 1 hour
- Servings: 6
The Ingredients:
- 4 large yellow onions (or your choice of onion variety)
- 3 tbsp olive oil
- 1 ½ tsp salt
Nutrition Per Serving (Approximation):
- Calories: 91 kcal | Fat: 7g | Carbohydrates: 7g | Sugar: 3g | Fiber: 1g | Protein: 1g
Choosing Your Onion
While any onion can be caramelized, your choice will subtly shift the final flavor profile:
- Yellow Onions: The ultimate go-to option. They strike the perfect balance between sweet and savory, yielding an incredibly rich depth as they cook down.
- Sweet Onions (e.g., Vidalia): Packed with higher amounts of natural glucose and fructose, these yield an even sweeter result, perfect for burgers.
- White Onions: Mellow out beautifully from their raw pungent state, though they break down slightly faster than yellow varieties.
- Red Onions: Turn mild and sweet, though they will lose most of their signature purple color along the way.
Pro Tip: Slice the onions from root to tip rather than across the middle. Slicing with the grain keeps the onion fibers intact so they hold their shape perfectly as they shrink.
Step-by-Step Instructions
1. Sweat Low & Slow
2. Salt at 30 Mins
3. Jammy Caramelization]
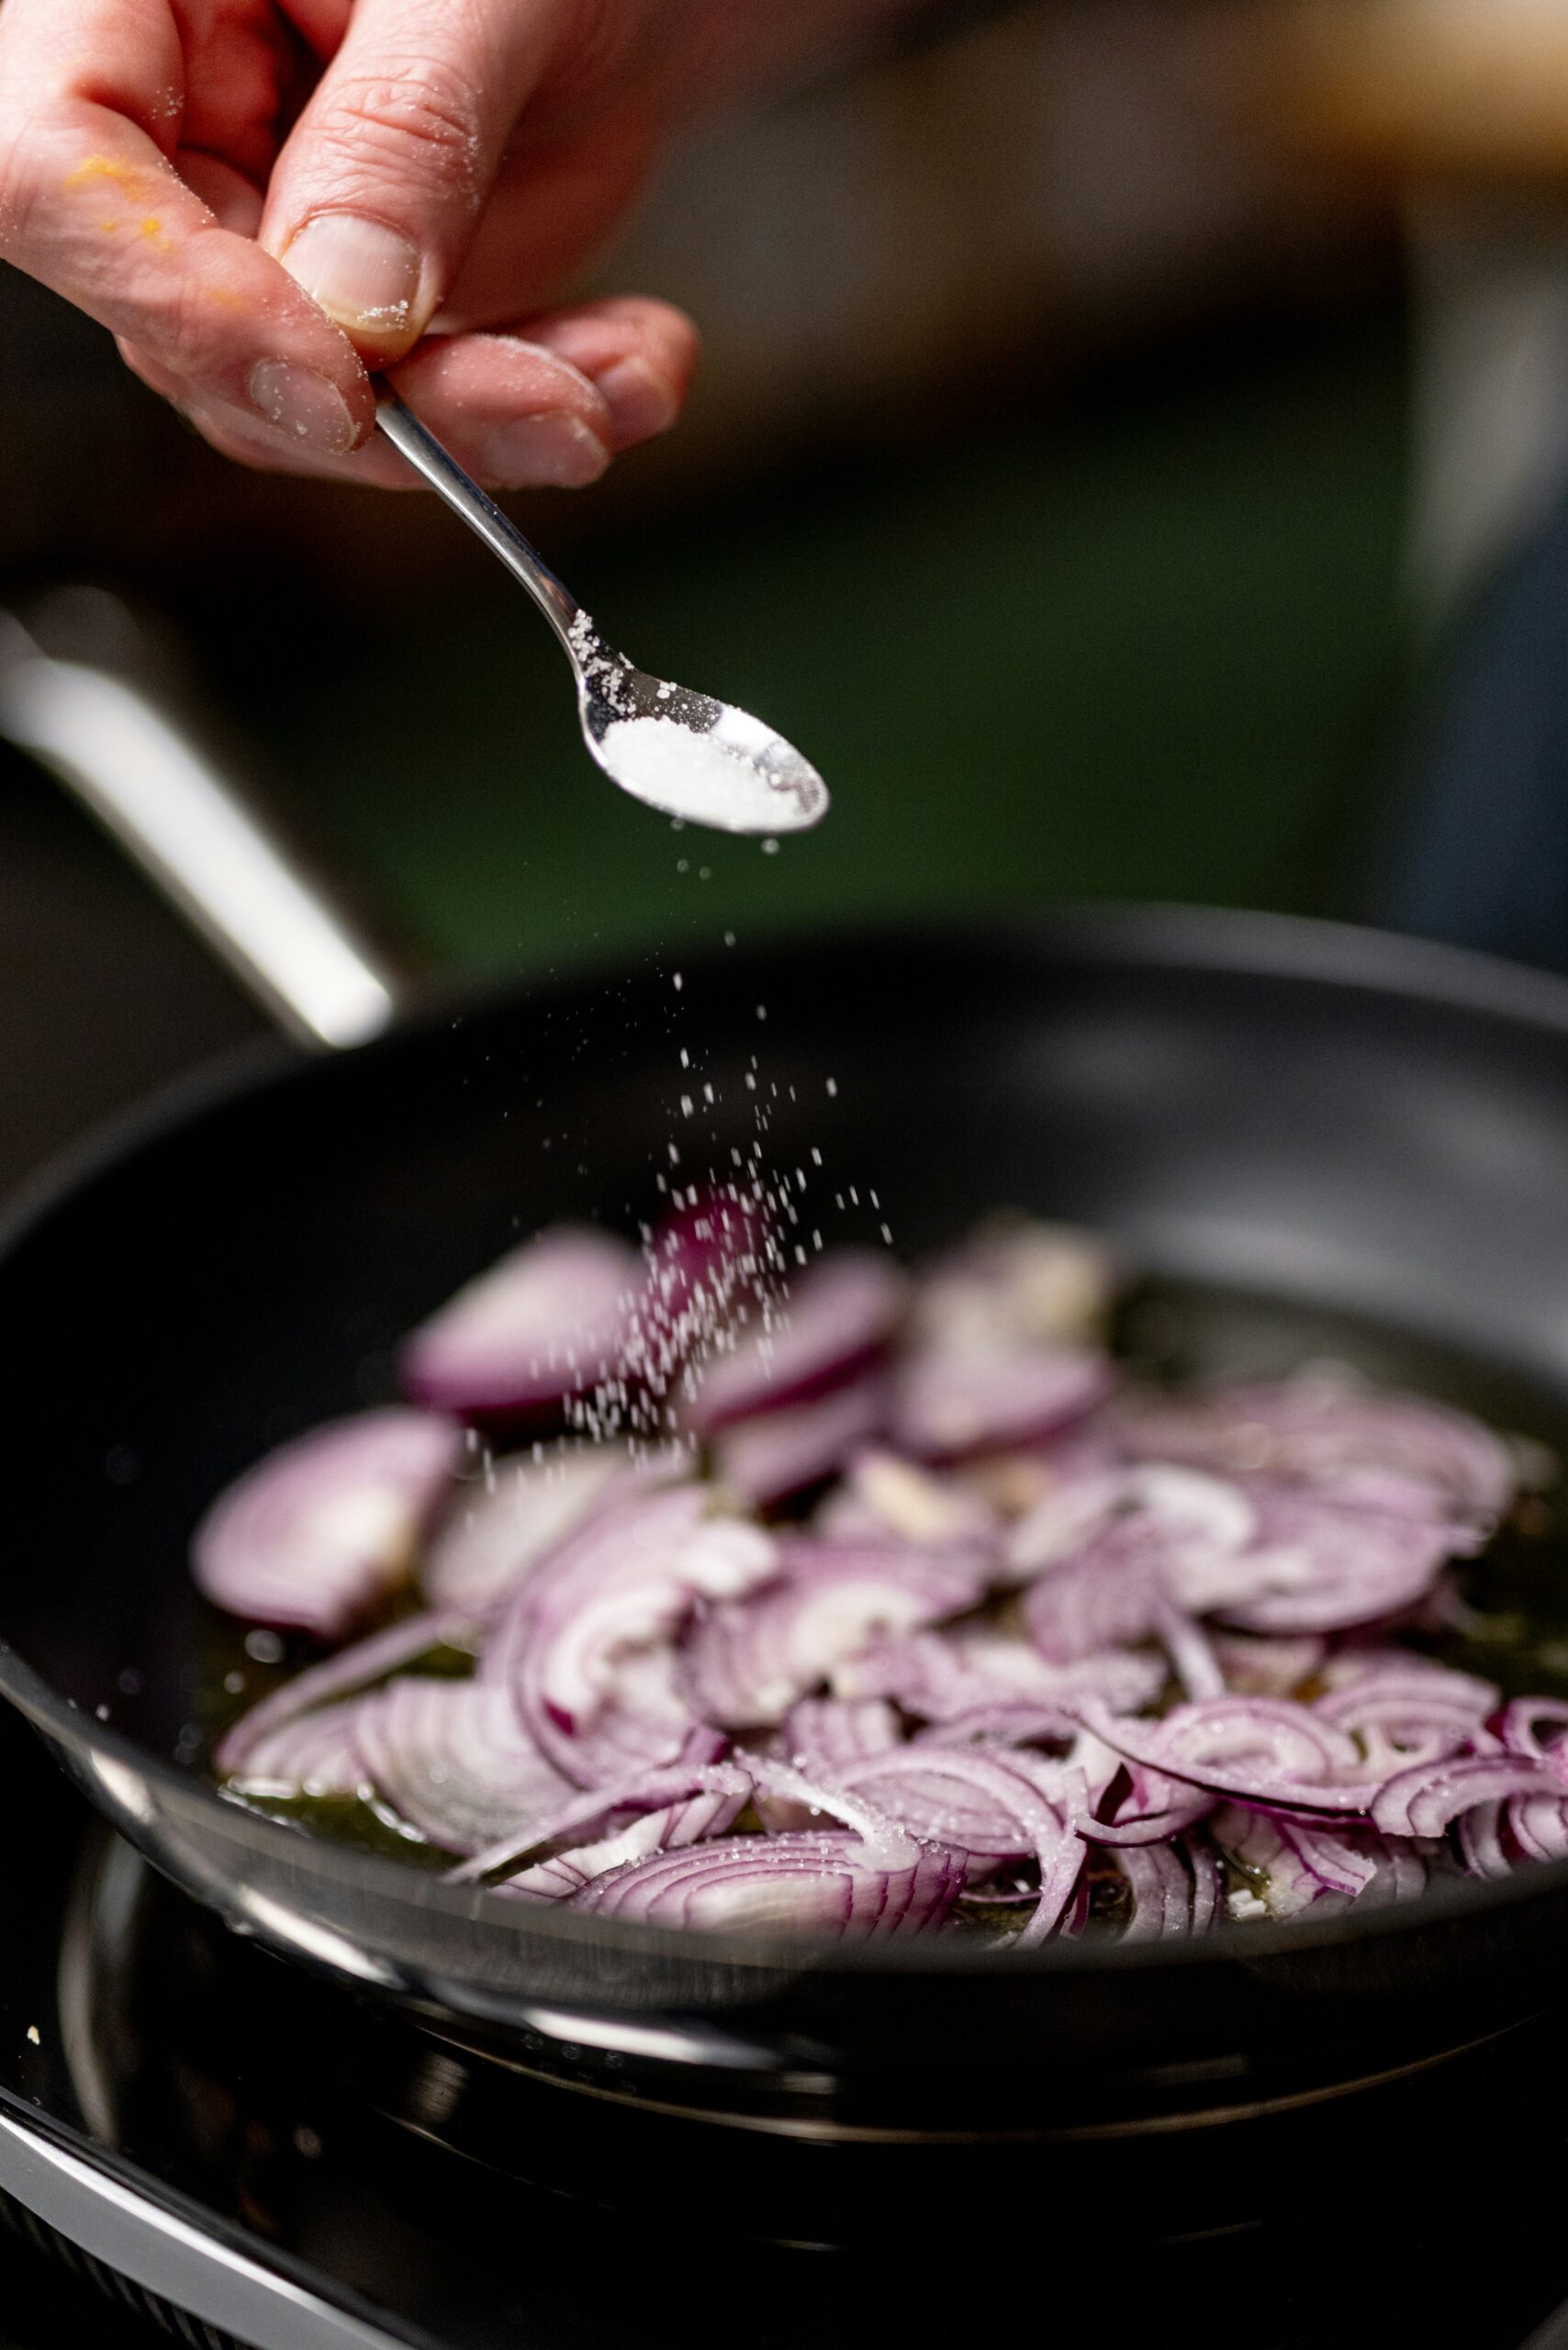
- Sweat the Onions: Heat the olive oil in a large skillet (ideally cast iron) over low heat. Add your uniform onion slices and toss to coat them in the oil. Let them cook slowly, stirring occasionally. They will slowly begin to release their juices and soften. Do not turn up the heat to rush this step, or they will burn.
- The Salt Timing: After about 30 minutes of slow cooking, stir in the salt. Waiting to add the salt ensures the onions don’t sweat out all of their liquid too early, allowing them to soften gradually first.
- Deepen the Color: Continue cooking for another 20 to 30 minutes, stirring occasionally. As the remaining moisture evaporates, the onions will shift from pale to a rich golden brown, developing a silky, jammy structure.
- Finish: They are ready when they have completely shrunk in volume, turned a deep golden hue, and give off a sweet, rich aroma with absolutely zero raw bite left.
Expert Tips
- Manage Sticking Safely: You don’t need to formally deglaze the pan for this recipe, but if the onions are catching too much on the bottom, stir in a tiny splash of water to loosen them up. If they look parched, add a tiny drizzle of extra olive oil.
- Watch for Heat Cues: If you spot dark patches or scorched edges early on in the first 30 minutes, your stovetop heat is too high. Turn it down immediately so they can brown evenly.
- Skip the Sugar: Some recipes use brown sugar to cheat the system, but letting the onions’ natural sugars do the heavy lifting results in a much cleaner, authentic flavor profile.
Storing & Freezing
- In the Fridge: Let them cool completely, seal them in an airtight container, and keep them on hand for up to 7 days. You can easily reheat them in a low-heat skillet or use them cold.
- In the Freezer: Divide the cooled onions into an ice cube tray or silicone mold to freeze them into perfect single-use portions. Once solid, pop them into a freezer bag for up to 3 months. You can toss these frozen cubes straight into hot soups, pasta sauces, or skillets.
This Strawberry Spinach Salad with Poppyseed Dressing delivers a restaurant-quality balance of sweet, savory, and crunchy components. It serves as a light lunch or a summer side dish, completely transforming simple ingredients in just 15 minutes.
The Salad Components
Each element is carefully selected to offer contrasting textures and high nutritional value:
- Baby Spinach: The leafy base, packed with iron, vitamin B, calcium, and folic acid.
- Fresh Strawberries: Adds natural juiciness, sweetness, vitamin C, vitamin K, and potassium.
- Feta Crumbles: Tangy and salty to perfectly counterbalance the sweet berries.
- Red Onion: Adds a crisp crunch and sharp bite. (If raw onion is too strong for your liking, you can swap them out for caramelized onions).
- Homemade Poppyseed Dressing: A light, creamy blend made with Greek yogurt, lemon juice, apple cider vinegar, honey, olive oil, and digestion-supporting poppy seeds.
- Maple-Candied Almonds: Slivers tossed with maple syrup and a pinch of salt, providing fiber and protein.
Step-by-Step Instructions
1. Bake the Candied Almonds
Preheat your oven to 400ºF. Spray a baking sheet with nonstick cooking spray, then toss your slivered almonds with maple syrup and a pinch of salt. Spread them in a single layer and bake for 8 minutes until golden and fragrant. Let them cool completely to ensure they get perfectly crunchy.
2. Whisk the Dressing
In a small bowl or jar, combine the olive oil, Greek yogurt, fresh lemon juice, apple cider vinegar, honey, poppy seeds, and a pinch of salt. Whisk or shake until smooth and creamy.
3. Assemble and Serve
Divide the fresh baby spinach among four bowls. Top equally with the sliced strawberries, feta crumbles, and thinly sliced red onion. Sprinkle the cooled candied almonds over the top. Drizzle roughly two tablespoons of the homemade poppyseed dressing over each bowl right before serving.
Tips for Success
- Dry the Greens Well: Excess moisture on your spinach will dilute the homemade dressing. Give the leaves a good spin in a salad spinner or pat them dry thoroughly with a paper towel.
- Cool the Nuts Completely: Do not rush to add the candied almonds while they are still warm. Warm almonds will immediately wilt the delicate baby spinach leaves.
- Dress Right Before Serving: Spinach wilts quickly once it is tossed in dressing. To avoid a soggy salad, keep the dressing on the side until the moment you are ready to eat.
Easy Substitutions & Variations
This versatile recipe accommodates a variety of seasonal swaps:
- The Greens: Switch out spinach for peppery arugula, mixed greens, or a blend of both.
- The Berries: Substitute or supplement the strawberries with fresh blueberries, raspberries, or blackberries.
- The Cheese: If you prefer a creamier profile, trade the feta for goat cheese, fresh mozzarella chunks, or shaved Parmesan.
- The Nuts: Swap slivered almonds for candied pecans, walnuts, or pistachios.
- Make it Vegan: Omit the feta cheese, use a simple olive oil and lemon vinaigrette, and swap the Greek yogurt in the dressing for a plant-based alternative.
Storage & Meal Prep
This salad is an excellent candidate for advance meal prep if kept separated:
- The Base: Divide the spinach, sliced strawberries, feta, and red onion into four airtight containers. These components will stay fresh in the refrigerator for 3 to 4 days.
- The Dressing: Store your creamy poppyseed dressing in an airtight jar in the fridge for up to 1 week. Shake vigorously right before serving.
- The Almonds: Keep the candied almonds in a separate container at room temperature for up to 1 week so they stay perfectly crunchy. Combine everything right before you eat.
Complete the Meal
To transform this light side dish into a filling, high-protein entree, pair it with one of these additions:
- Grilled Chicken or Salmon: Slice juicy grilled chicken or a piece of pan-seared salmon directly over the top.
- Vegetarian Protein: Toss in a handful of drained chickpeas or edamame.
- Classic Cafe Combo: Serve it alongside a hot cup of soup and a warm slice of crusty sourdough bread.